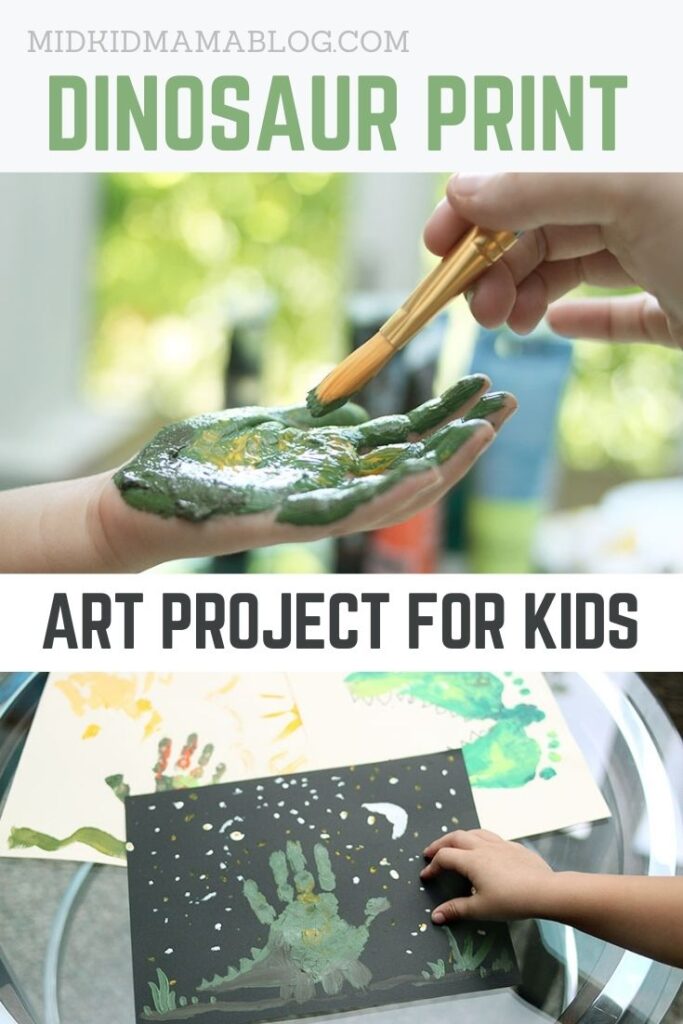
Dinosaur Kids Craft with Handprints and Footprints
My kids love dinosaurs. I mean, who doesn’t, right?
And I love art projects that:
- Are fun crafts for my kids
- Teach a lesson
- Make a memory
- Are something I want to keep
Handprint crafts are some of my favorite because it reminds me just how small they were at one point. So, combine that with a dinosaur kids craft about nighttime and daytime–and we’ve got a winner.
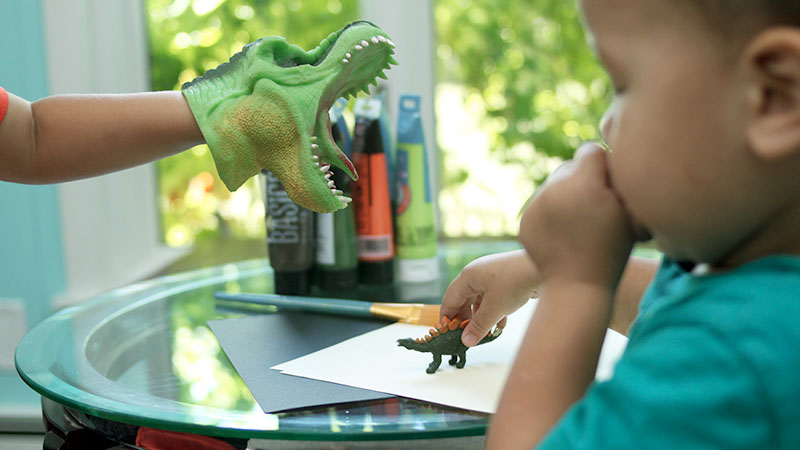
My kids are always thrilled to use paint. They love anything that could potentially destroy the house.
How to Make Dinosaur Handprints (And Dinosaur Footprints too!)
For this dinosaur kids craft, the supply list isn’t long:
- Acrylic paint (I personally use professional paint and avoid “washable” kids paint that isn’t really made for long-term value)
- Paintbrushes (large and small)
- Cardstock paper (I used black and parchment)
- Paper plates or bowls (to hold paint)
- Baby wipes
Start with Handprints (or Footprints)
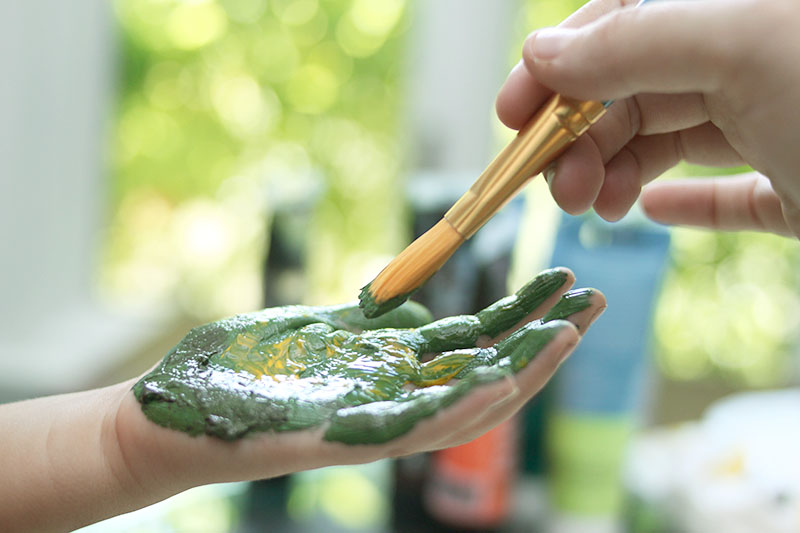
Pro tip: practice having them keep their hands open before you paint. Mix colors to get a more textured/dynamic dino. Talk about how cold the paint feels and keep reminding them to keep their hands open.
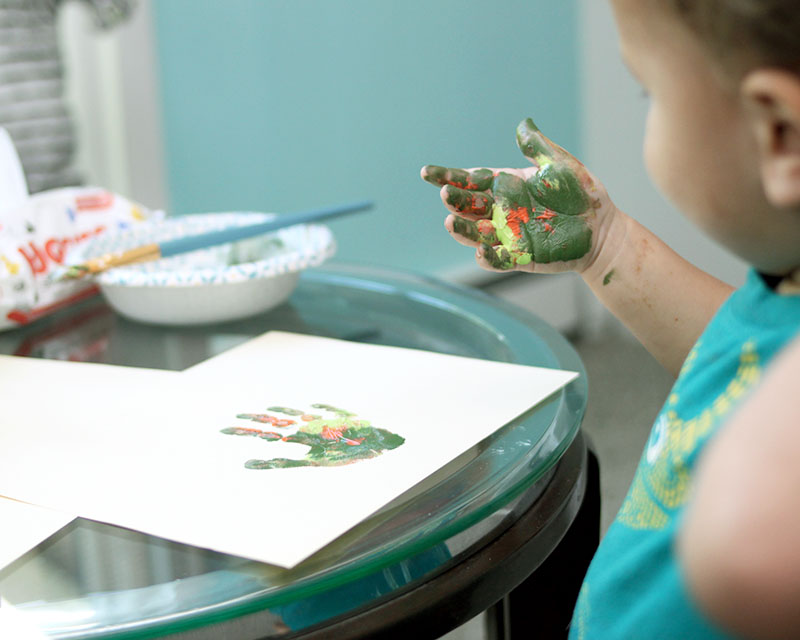
We also talk a lot about not touching anything else. Tell them just to focus on holding their fingers open and not trying to touch the paper. You do all the work of placing their hand and gently pressing up each finger. Pull the hand straight up to get a clean handprint.
Wipe down immediately with wipes (and keep an old grocery sack on hand for the messy wipes. Wash hands after most of the paint is off. So far (fingers crossed), we’ve never made any messes with handprint art projects.
Add a Simple Prehistoric Background
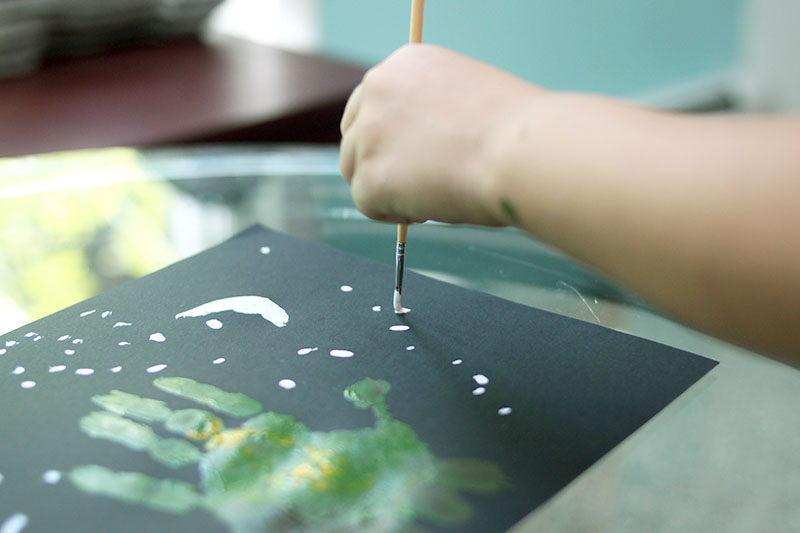
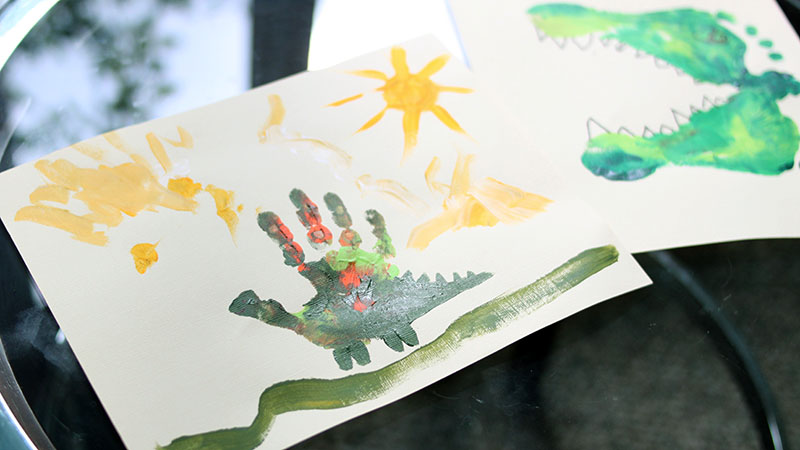
Before adding details to the dinosaur handprints, I had the boys help me add backgrounds. We kept them very simple with a line of brown paint for the ground (and maybe a few green leaves). We added stars and moon to the black paper while we talked about night time, and we added the sun to the parchment when as we talked about day time.
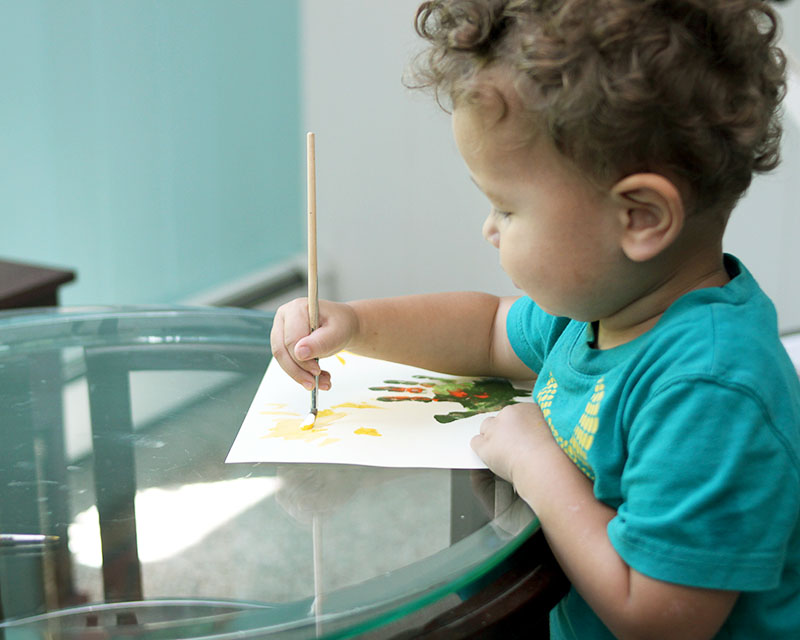
My preschooler had to be more “accurate” with his sun, moon, stars and plants, but I gave my 2-year-old more freedom. Klay added lots of yellow “sun” to his and I love it.
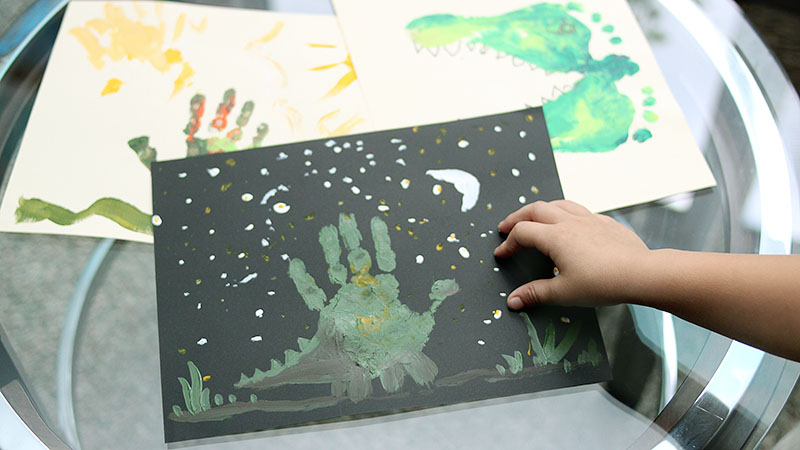
Add the Details
I helped them add tails, legs, spines and teeth to their dinosaurs as needed. We waited until they were dry and then added faces with an extra-fine Sharpie marker.
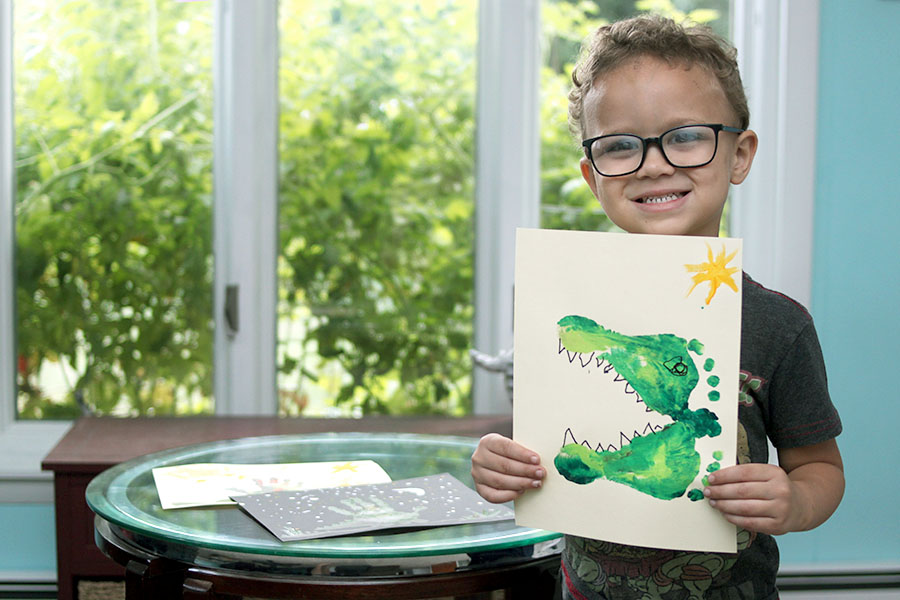
They really loved this dinosaur print project and it went on the fridge as soon as it was dry and dated. (Pro tip: always add names and dates in the bottom corner because you will always forget. Always.)
Check out more adorable handprint and footprint projects!
Pin This Dinosaur Kids Craft for Later!
