Painted Kids Handprint Craft: Thanksgiving Decor
Holiday decor projects are a great way for kids to get involved with crafts that hold memories. Projects like this painted handprint craft for fall, will get them involved in the holiday or season, offering great opportunities for learning at home.
Our holiday decorations get pulled out once a year and the kids can see how much they’ve grown with a handprint craft like this. With the amount of artwork we do here, clutter becomes an issue. I keep a box of their best artwork, keep holiday-specific items to get out during that season, hang their very best things for year-round decor and then toss the rest.
It is so hard for me to throw out my kids’ art (even coloring pages!), but you just cannot keep everything or nothing will be enjoyed. Handprint craft decor is one of my favorite things to create and keep.
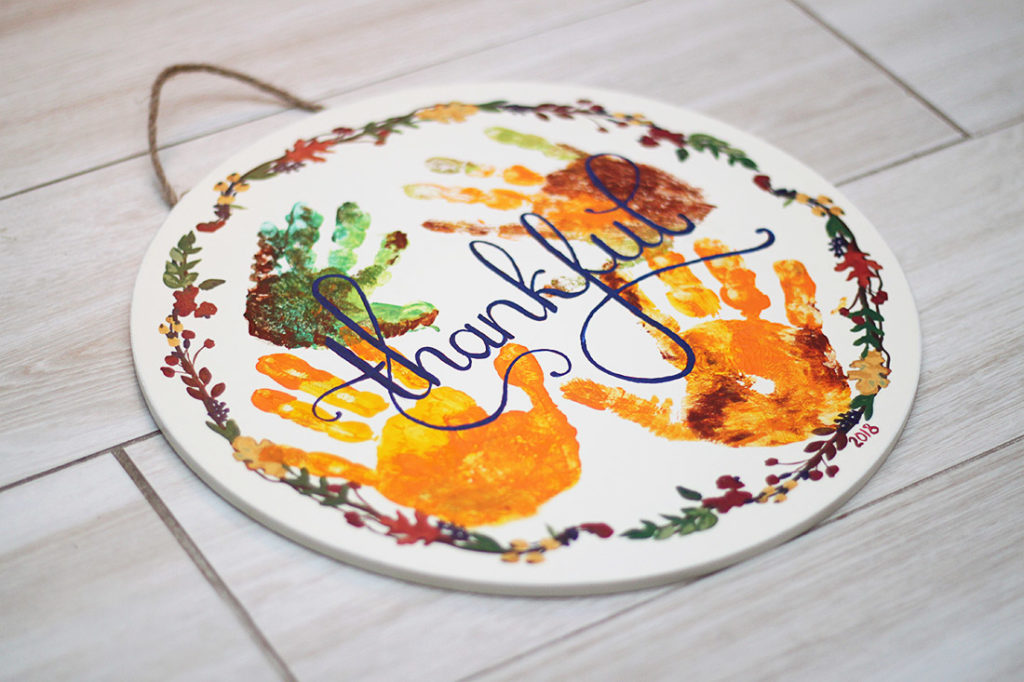
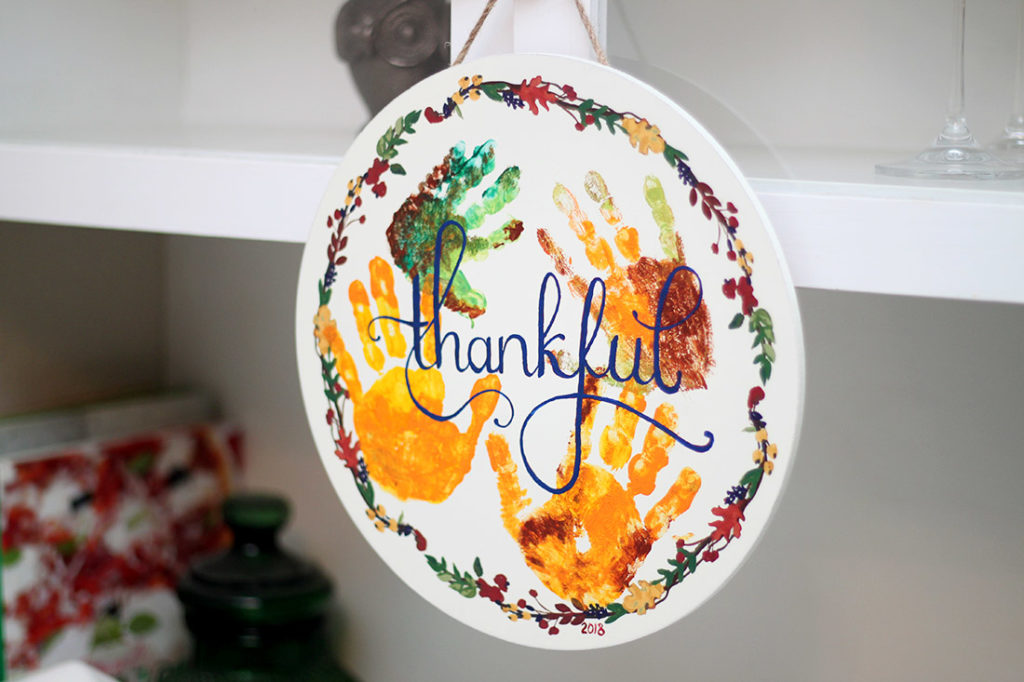
But, this year we did a special decoration for Thanksgiving and the fall season. Check out our handprint sign kids’ craft project.
Fun Handprint Painting Project for Kids
To start, you need paints, brushes and a sign. I love browsing the Target dollar section seasonally to see what signs or materials I can use for projects like this. I always have craft and artist grade paint on hand, so I just grabbed some fall colors I liked.
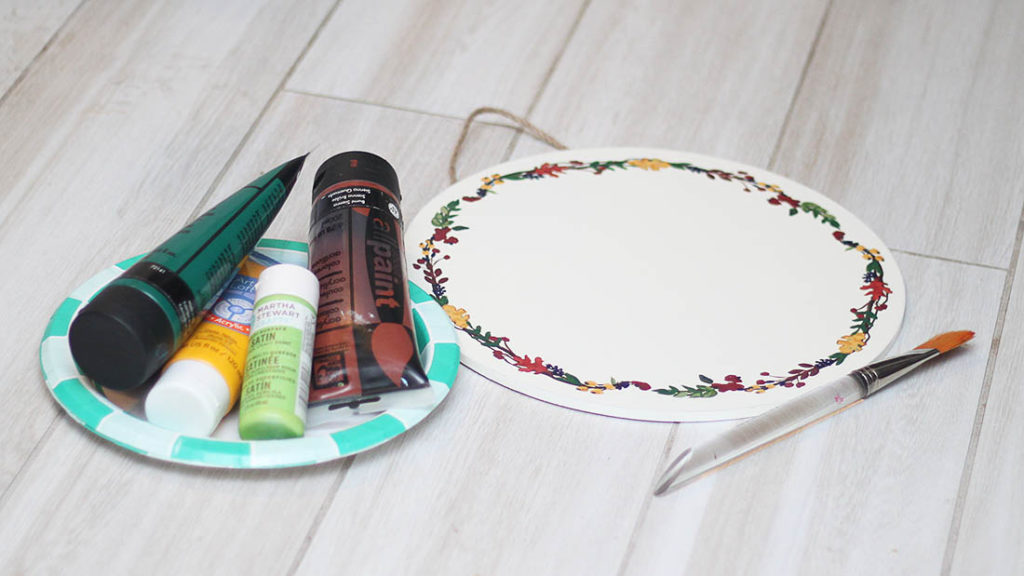
Aside from the basic project materials, grab a paper plate, paper towels and wet wipes. Diaper wipes are the easiest way to clean paint of little hands before they have an opportunity to decorate the rest of your house with paint.
Making the Handprints
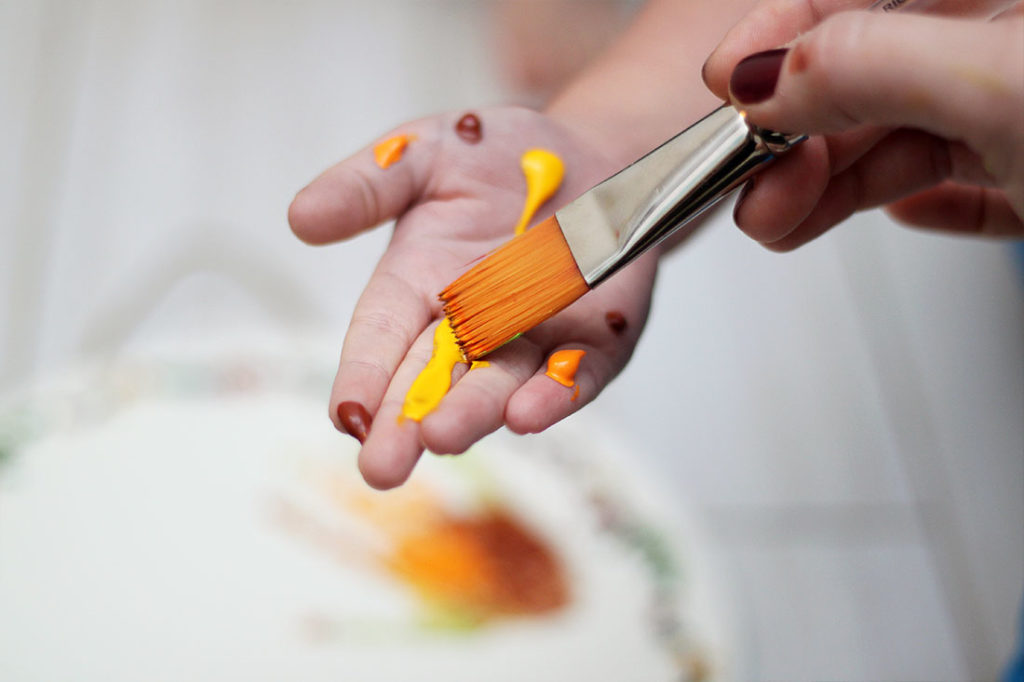
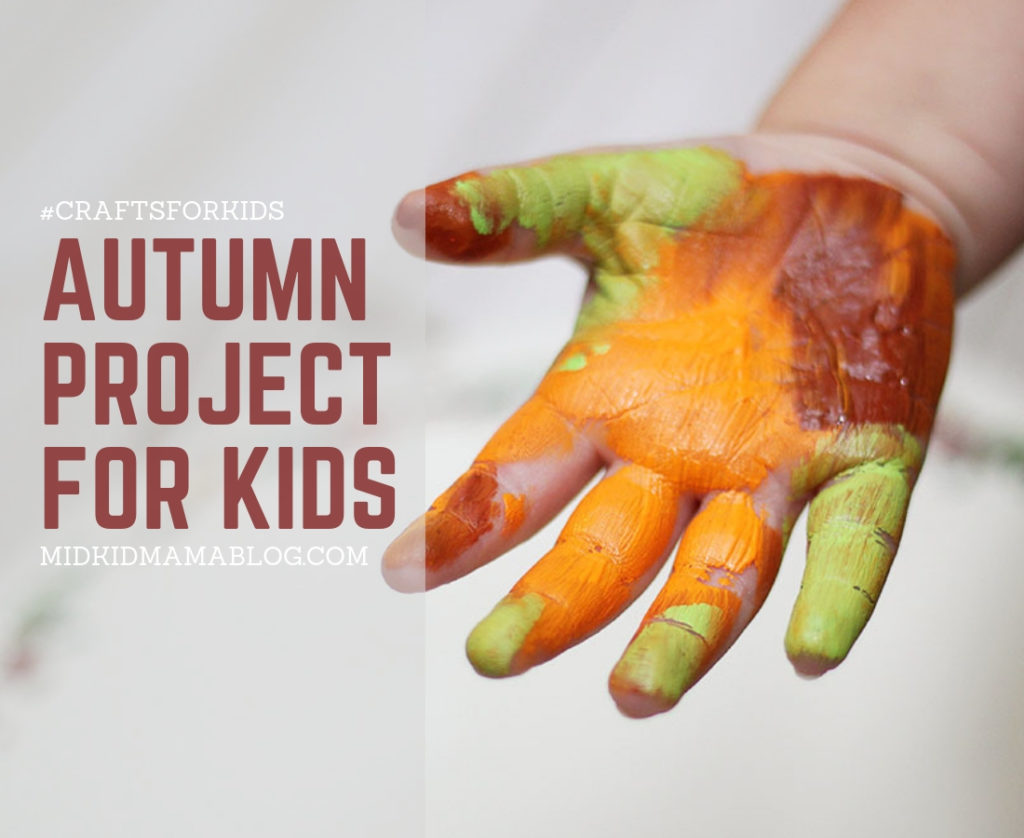
Start with a few drops of colors. If you are going for the autumn leaf look, then you don’t want just one solid color. You also don’t want every color on each hand, since that won’t give you a lot of variation in the prints. Use a large paint brush to smooth a solid layer of paint on the hand.
Warn your kid before starting that it’s going to be cold and they can only touch the sign as you help them and nothing else until their hand gets cleaned off. Prepping your kid with what to expect really helps during projects like this. It may sound super basic, but you’d be shocked at what kids don’t think about–even the ones with the best intentions.
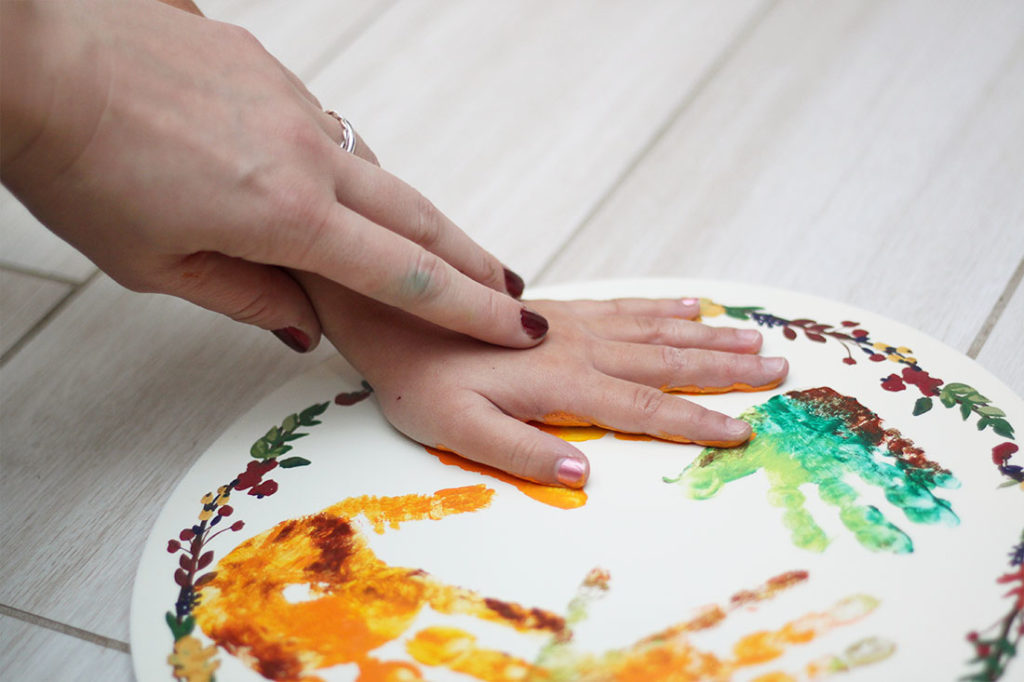
Before placing the hand, show them how to spread their fingers out straight and not too stiff. Tell them you will put their hand down and not to move their fingers at all. The bigger kids are pretty easy–it’s baby handprints that can be really difficult and will require patience. When the hand is down, carefully press each finger and the palm of the hand to get a good print.
Adding the Lettering
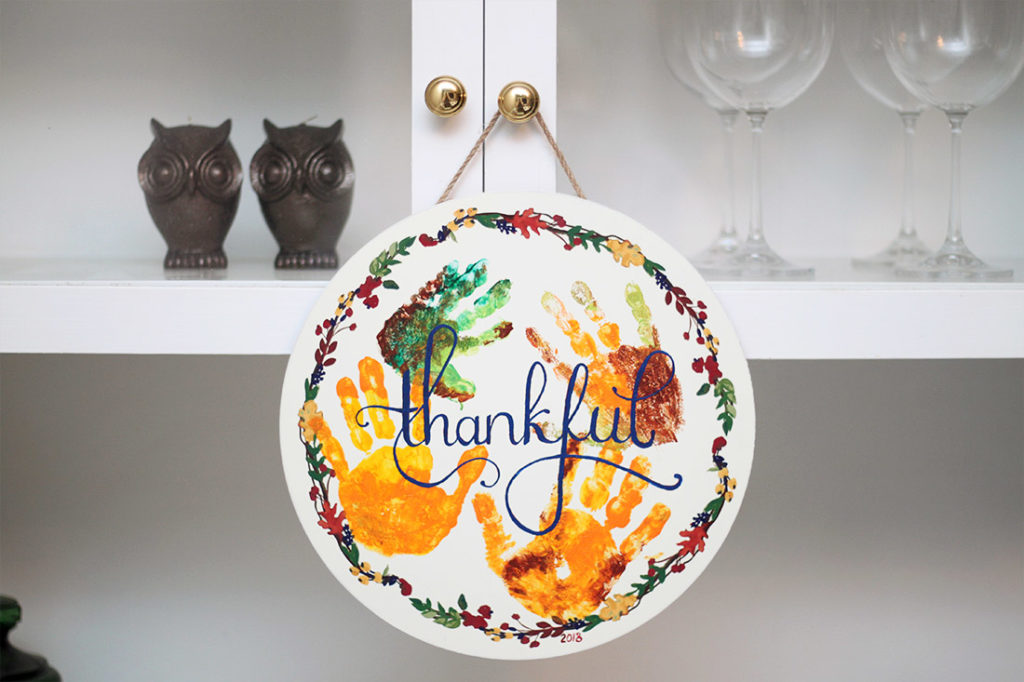
I’m not going to lie–this is the hard part. One thing I’ve found over the years is–do not make your lettering up. Find a real font and have the word typed out in front of you before starting. Making up letters is a craft and takes a lot of technical skill. You want to see a clear example you know you like before starting. You can even print out your word and transfer it if you are worried about getting it right. I use a very small brush and pencil out a rough outline before starting.
If you try this out, tag me (@midkidcrew) on Instagram! I would love to see what you come up with for your own home. Thinking about spring? Check out my adorable bunny footprint decor project. Pin this project for a fall craft to do with your kids:
