Painted Pumpkin Sunlight Catchers
Seasonal art projects are one of my favorite things to dream up and use for festive decorations around the house. While carving pumpkins is always a fun tradition, lasting projects are fun to get back out each year. Art (especially paint!) is a lot of work to do with young kids, but well worth the effort. When Kniya was two (2015), we did this painted pumpkin sunlight catcher project. This year I thought it would be fun to do again with Kniya, Kaleb and Kam.
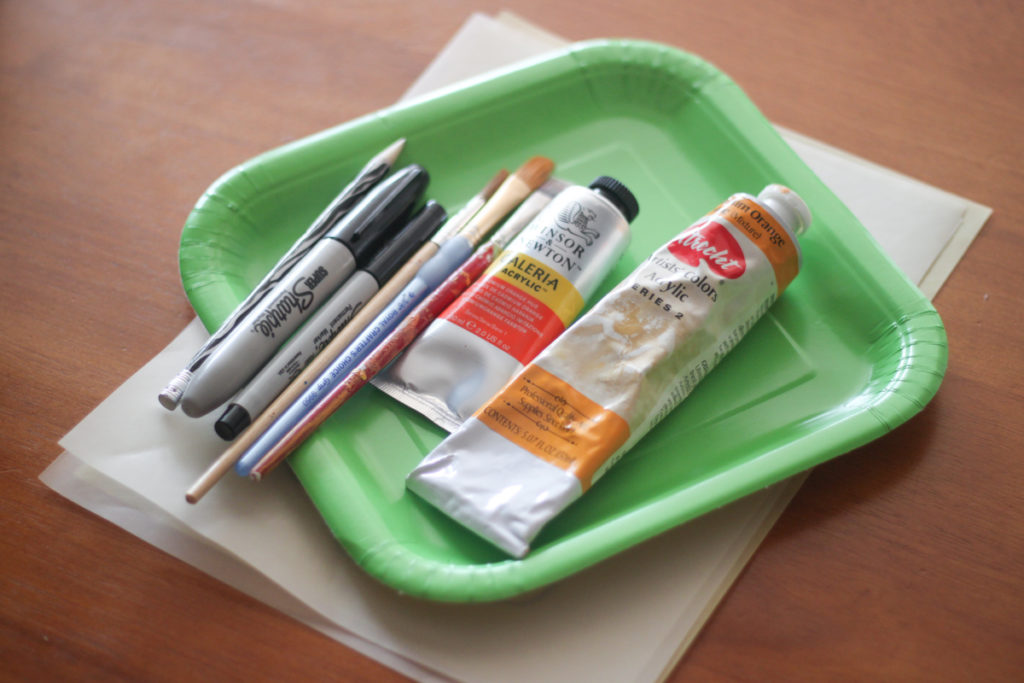
1. Start with tracing paper, a pencil, a Sharpie, paint brushes and two slightly different colors of orange.
Start with a pencil outline to make sure the pumpkin shape and face are right before moving on. Use the sharpie to trace the pencil lines that you (or your kid) are happy with.

2. Limit the colors to keep the project more simple.
Painting can get out of control with too many colors. While lots of colors are great sometimes, limiting the palette can really help make things less overwhelming for young students.

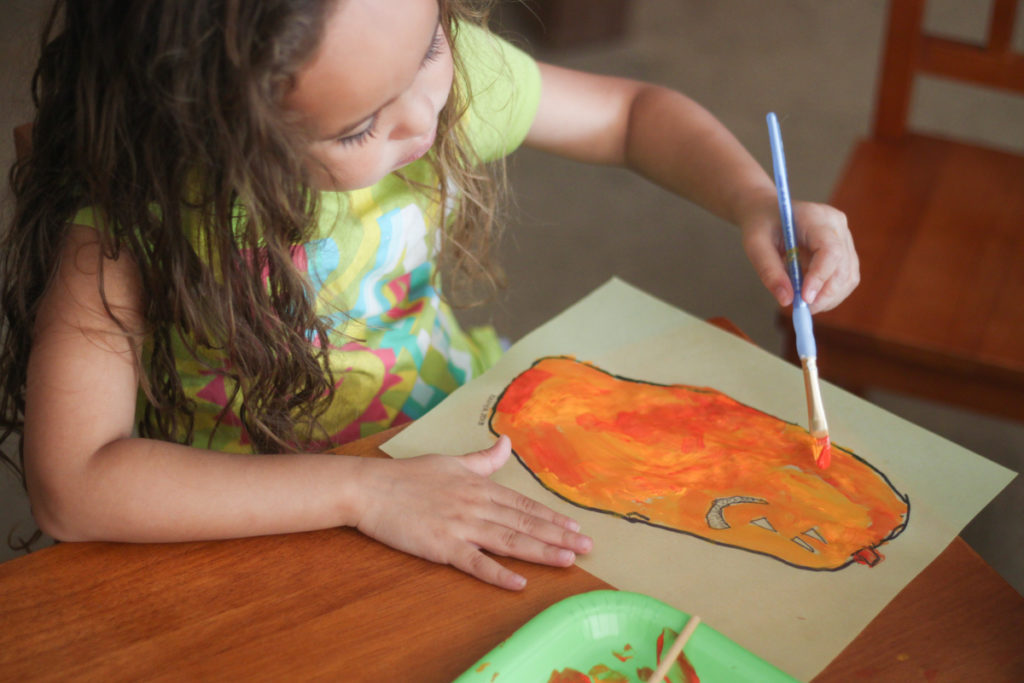
3. Smooth out paint to a thin layer.
You don’t want any lines or blobs, so help your child create thin coats on their drawing. Avoid the eyes, nose and mouth so they are brighter than the rest of the pumpkin. Keep all paint within the lines of the pumpkin. Finish with a bit of brown on the stem. Let your paintings dry flat (use something like a cup to hold down the corners if curling starts).

4. Set limitations and help where needed.
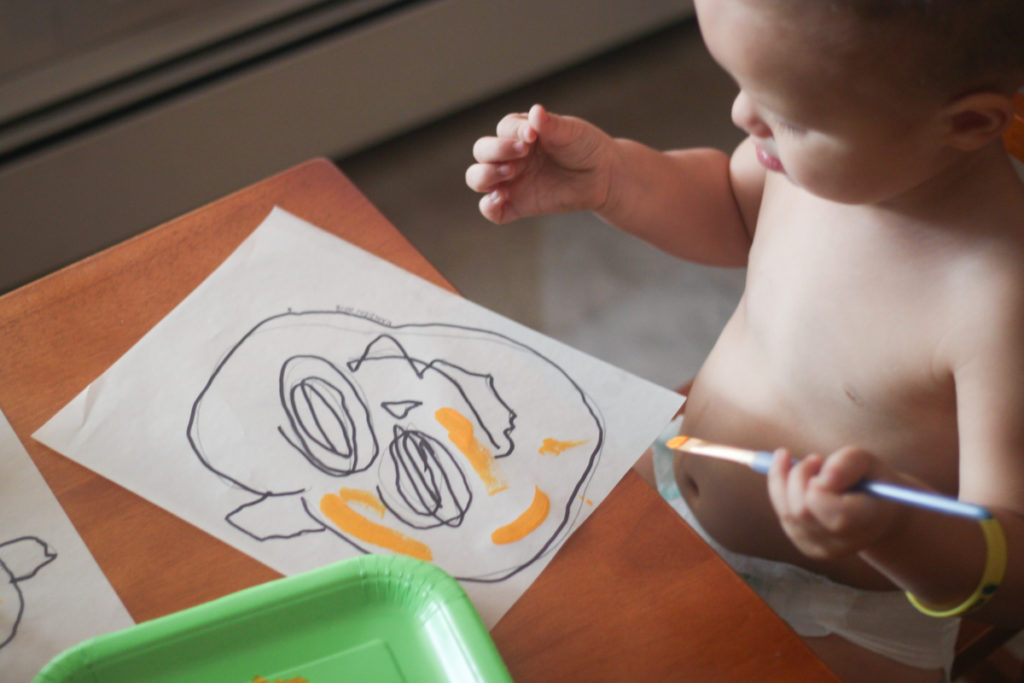
I helped Kamden and Kaleb do the marker part (with my hand over theirs) because it can be hard for younger kids to follow their lines and the goal is to trace, not create something else (and I didn’t want Sharpie on the table!). I helped Kamden consider each part (“Let’s start with the pumpkin! Now add eyes!”…etc.) so he would stay on track and not end up with just scribbles. I also helped Kamden paint his so the eyes and mouth would stay clear. I watched all three kids to make sure their paint didn’t get too thick. With many projects they can do what they want, but it is good to also incorporate projects that have “rules.” These projects help them consider new ways to do art and grow in their abilities.

5. Laminate your pumpkin sunlight catcher for durability.
We tape ours up in the windows every year, so I want to make sure they last and the tape doesn’t stick. Carefully cut out the pumpkin 1/2″ away from the sharpie line when every part of it is completely dry. Add your child’s name and the year along the bottom with an extra fine sharpie (it’s so easy to forget when things were made!). You can use self-laminating clear sticky paper, but it’s hard to get them perfect without bubbles or lines. We have a local art store that did all three for $1.25. My husband and I also both have laminators at our workplaces. After they are laminated, cut the plastic film about 1/2″ around the pumpkin (leave space so the laminated edge stays strong and looks clean).

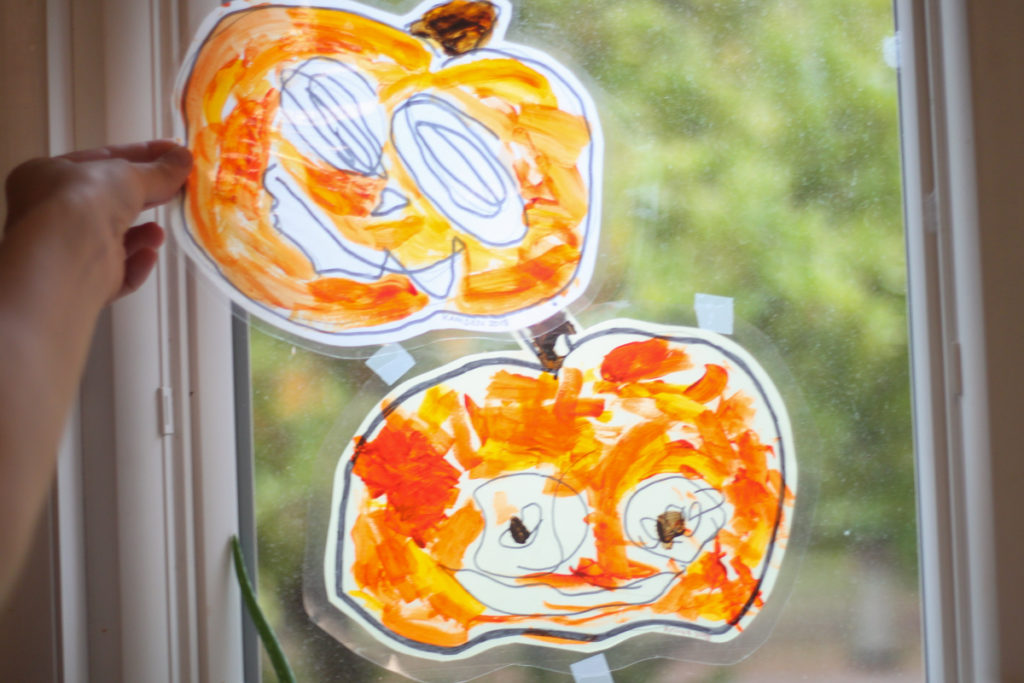
Voila! You have pumpkin sunlight catchers. This year, we used tape doubled over into a circle and stuck to the back of the sun catcher to keep them on the windows (not sure why I didn’t do that before). Above the sunlight catchers were done starting on the left by Kniya (5), Kaleb (3) and Kamden (2).
Look at how close Kamden’s pumpkin was to Kniya’s first pumpkin sunlight catcher from 2015! She would have been just 3 months older than he is now when she did hers. They have a similar personality, but I didn’t expect this!

