Build Your Own Raised Garden Bed
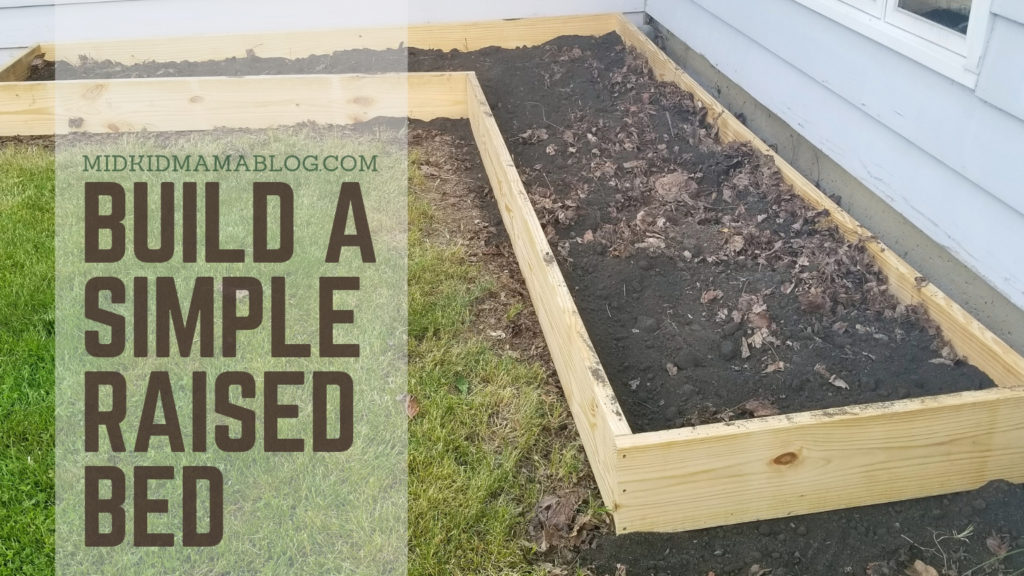
 While they look pretty impressive, a raised garden bed is actually easy to assemble. With just a few supplies, you can make your own DIY gardening box and have a contained space for plants in no time! The beds take just minutes to assemble and can be placed and painted within the hour.
Designing Your Raised Bed

Of course, you want to start by selecting a space in your yard for the bed. Find the spaces you think would work well in the overall layout of the yard. Watch to make sure that space gets either full sun or mostly sun. Most vegetable plants don’t like very much shade. We have two big trees in our yard, but the spaces close to the house are full sun and perfect for veggies.
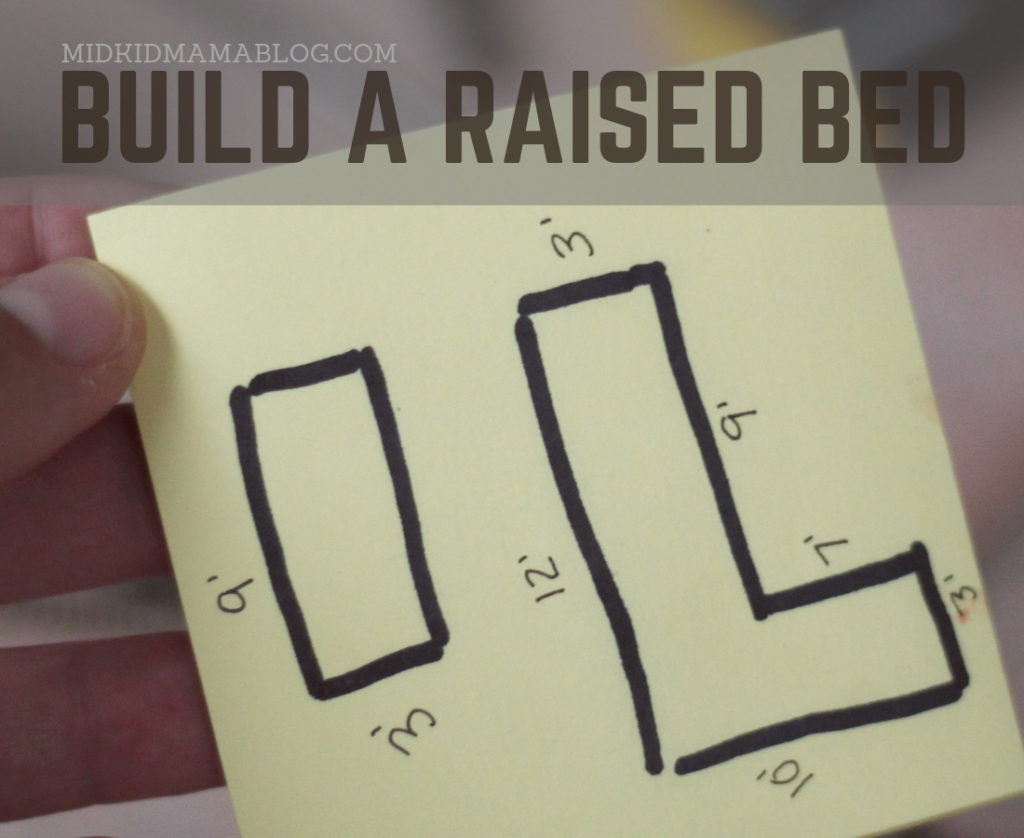
Simple Rectangle: For the first bed, I wanted a size I could fit into my SUV and also reach into easily. Too wide of a bed would make it impossible to reach to the back without stepping inside. Since my bed was going to be up close to the house, I didn’t want it deeper than 3’. The space for the bed was the perfect width for a 9’ bed. So, my dimensions for that bed were 3’x9’. This worked out perfectly, since the planks I wanted came in a 12’ length (3’ + 9’ meant I needed two 12’ boards with one cut each).
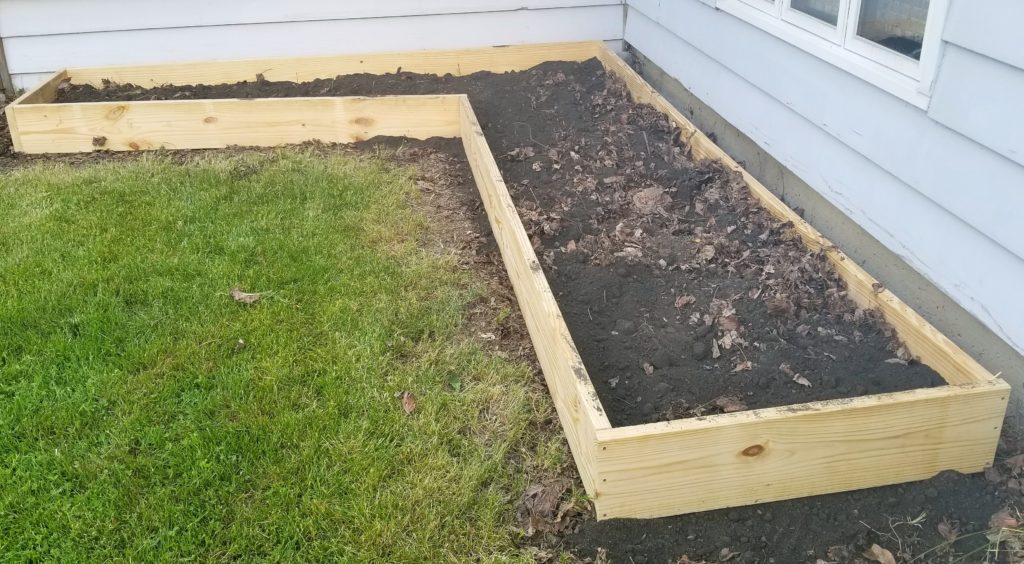
“L” Shape: The second bed I made was a little trickier. One end of our house has a patio sticking out and I wanted the bed to take up the whole corner. Building an “L” shape would require less wood and have more uninterrupted space. I almost made the mistake of making the bed too big. At first I was going to make the bed 12’x14’. When I looked at the wood plank size, I decided to scale it back just a couple feet so that it would be cheaper and easier to transport.
I didn’t realize until I was putting it together that I never considered how far the bed would stick out. If I had gone with the original size (what would fit the length of the house and patio), the depth of the bed (3’) would have caused it to stick out and be in the way. Shortening it by the 2’ each way allowed it to fit naturally in the space. It doesn’t feel like we were walking around it because it is nestled in the space. You can use string to mark out the space and visualize placement.
Materials Needed for a Raised Garden Bed
Yellow Pine: Yellow pine comes in the perfect width and height for a sturdy raised garden bed and has many length options. I opted for 10” wide yellow pine lumber that was 2” thick. Both Lowes and Menards carry it. I found out with the second bed that Lowes was cheaper and not stingy about in-house cuts. I didn’t want to have to have a saw, so had them to cut my lengths before we left. Choose boards that are straight and fairly smooth so that you have less work when assembling your raised garden bed.
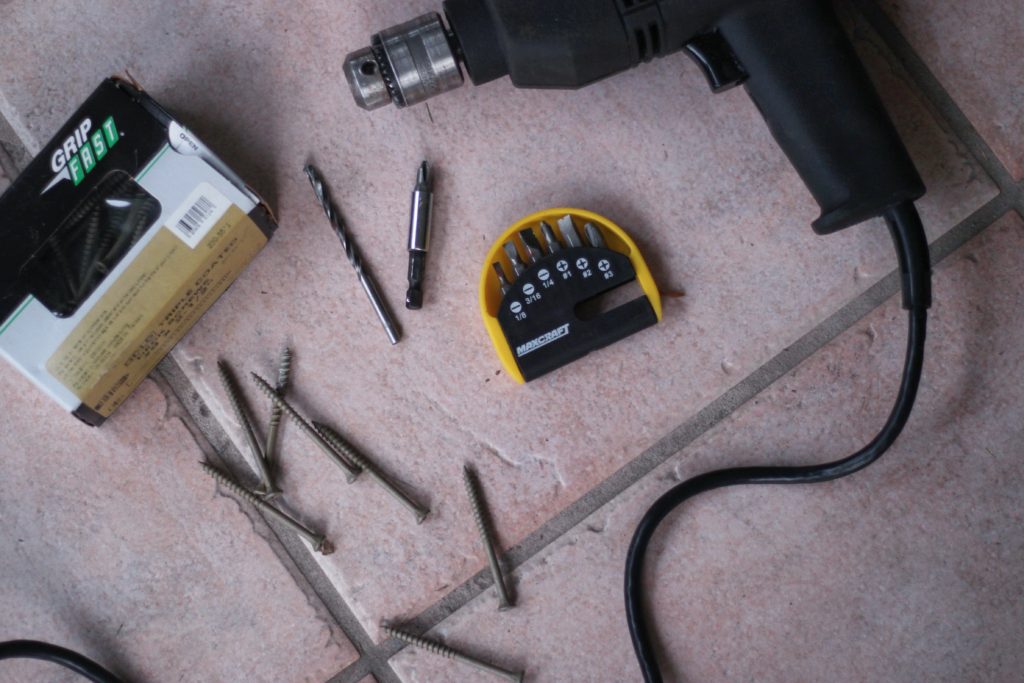
Deck Screws: Made for the outdoors, these screws won’t rust. Get ones around 2 ½” long, so they easily travel all the way into the second board (but not out of the back).
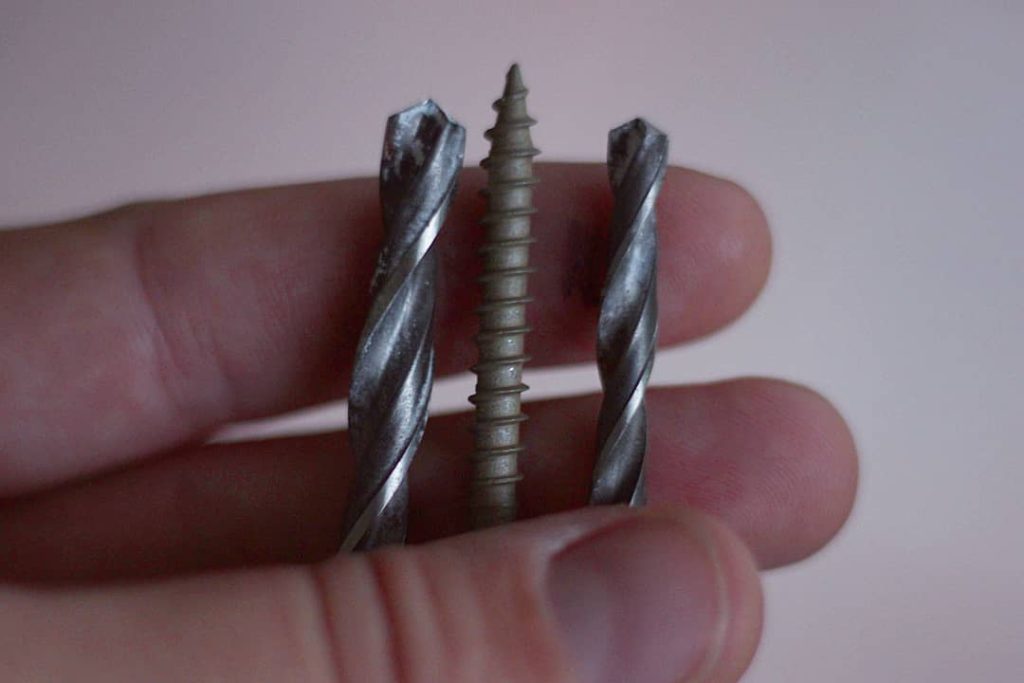
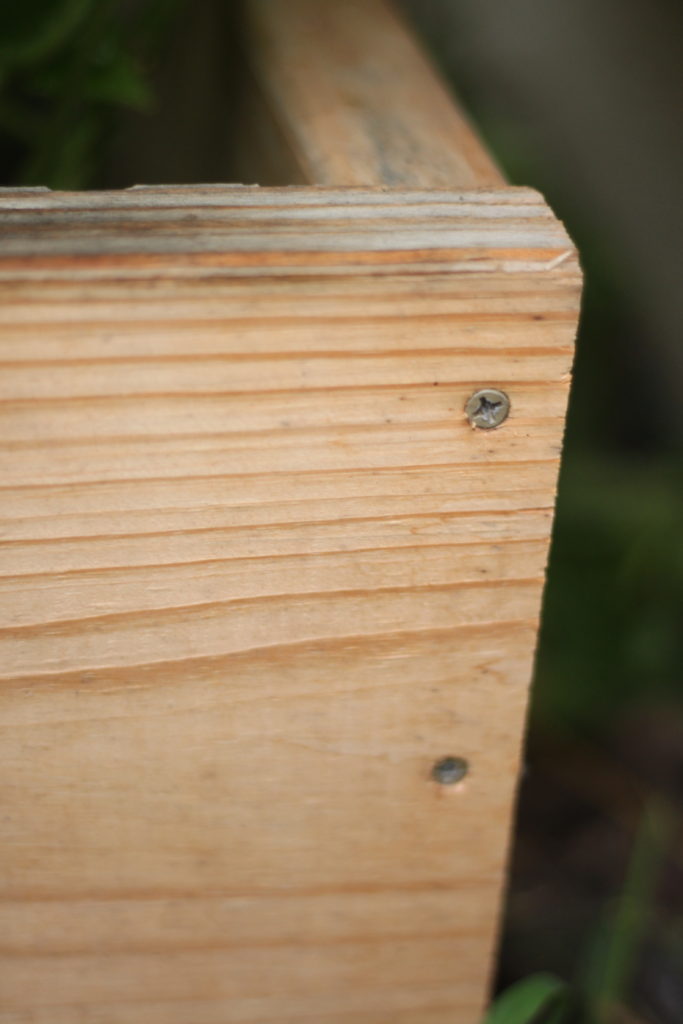
Drill: You will need both the screwdriver end that fits the screws and the drill bit to make holes first. Choose the right drilling bit size by checking to see which one is closest to the screw width, erring on the side of being slightly smaller than the screw. In the pictures below, you can see the bit to the right of the screw is the correct size for creating the holes.
House Paint: While not necessary, the bed may look more like it belongs when it is the same color as the house it is butted up to. This step is all a matter of personal preference.
Assembling Your Raised Garden Bed
While it may seem daunting, building the box for your raised garden is not difficult. Start by carefully choosing your size and determining what size boards you need. The larger size boards often save you money, so look into different options. For my L-shaped bed, I was able to purchase two 16’ boards and a 12’ board and then make cuts on both of the 16’ boards to get my shorter sides (10’ + 3’ + 3’ and 7’ +9’). For the smaller bed, I just got two 12’ boards and had them make one cut per board (9’+ 3’). This leaves no wasted wood and cuts down on the cost as much as possible.
Make sure you account for the 2” width of the boards as you plan out your assembly. This means that you need to strategically put the ends either on the inside or outside. It sounds complicated, but it’s not super hard if you lay them out. You will see that they don’t line up correctly if you get wild on how you on what boards are on the outside or inside of the corners. Here is a quick illustration to show how the boards need to connect to create the right shape:
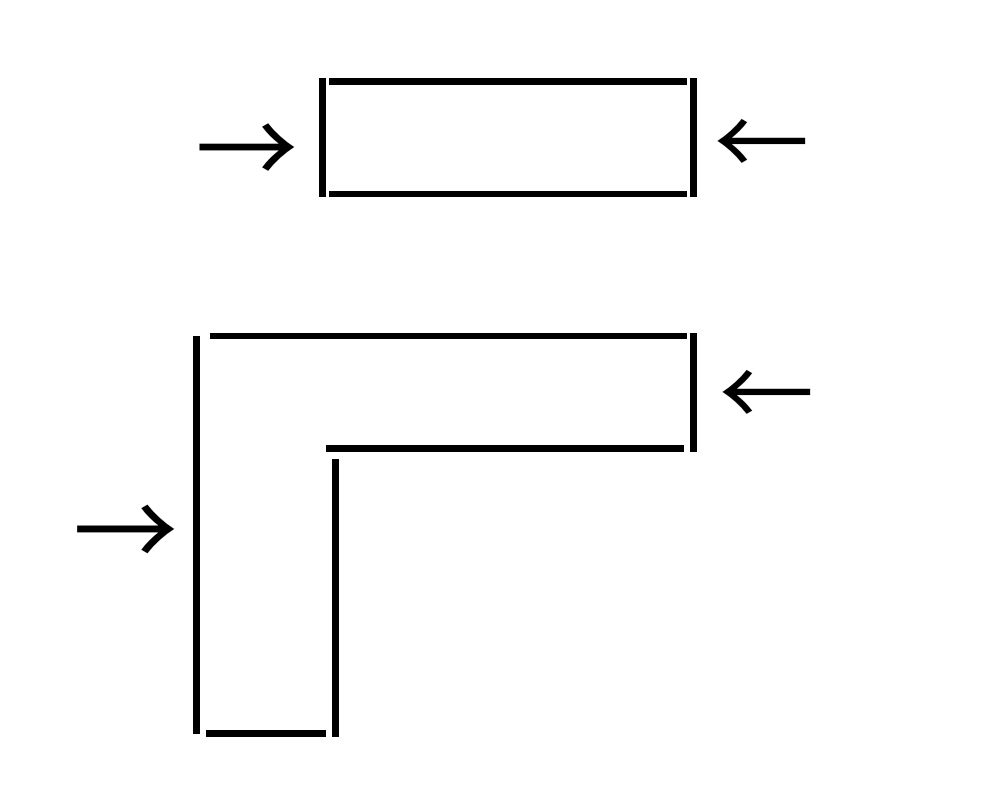
Start by drilling three holes close to the edge of the board that will be on the outside of the corner. Make each of the holes within 2” of the edge so that they line up with the board butting up to that end. Holes ensure your screws go in easily and straight. Set up the two boards at a 90° angle and start screwing in the deck screws. Alternate tightening the three screws to get an even and straight fit. The planks may not be completely straight, so pull the final boards together to get them to line up correctly.
Once the box is created, make sure it is sitting evenly on the ground where you are going to place it. You will probably need to scrape away dirt from bumpy areas and add dirt to low areas to get an even space for the bed to rest. When the bed looks straight and even, add your dirt inside.
Mixing Your Garden Dirt
Dirt is dirt, right? Well, sure, but different plants like different soils. Loamy, acidic, sandy, clay — not all dirts are created equally at all! I wanted a soil that drained well, but didn’t dry out in my raised garden.
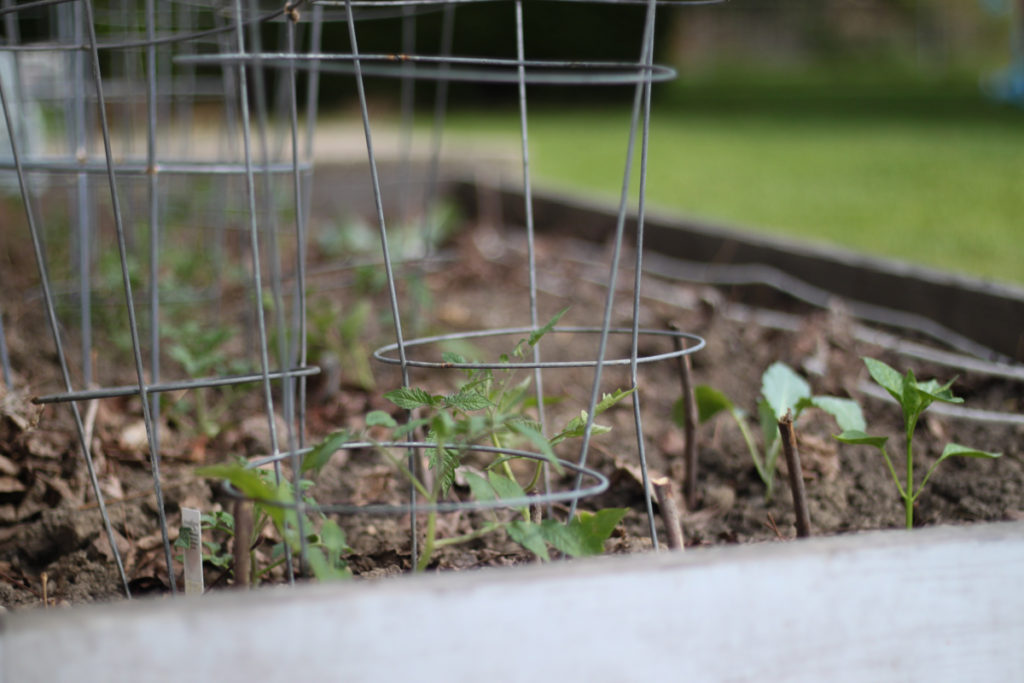
I mixed about 8 bags of top soil with a bag of peat moss and two bags of seasoned cow manure. This seemed like a wonderful mix and my tomatoes and green beans in this garden have been enormous every year. The peat moss is important for helping reduce the density of the top soil and manure – roots need to be able to breath and water has to drain. I also added egg shells on top of my mixture (about a dozen’s worth) to give the soil calcium, which tomato plants love and slugs hate. And, every earthworm I found while building the bed was added to the box for ongoing help.
Caring For Your Raised Garden Bed
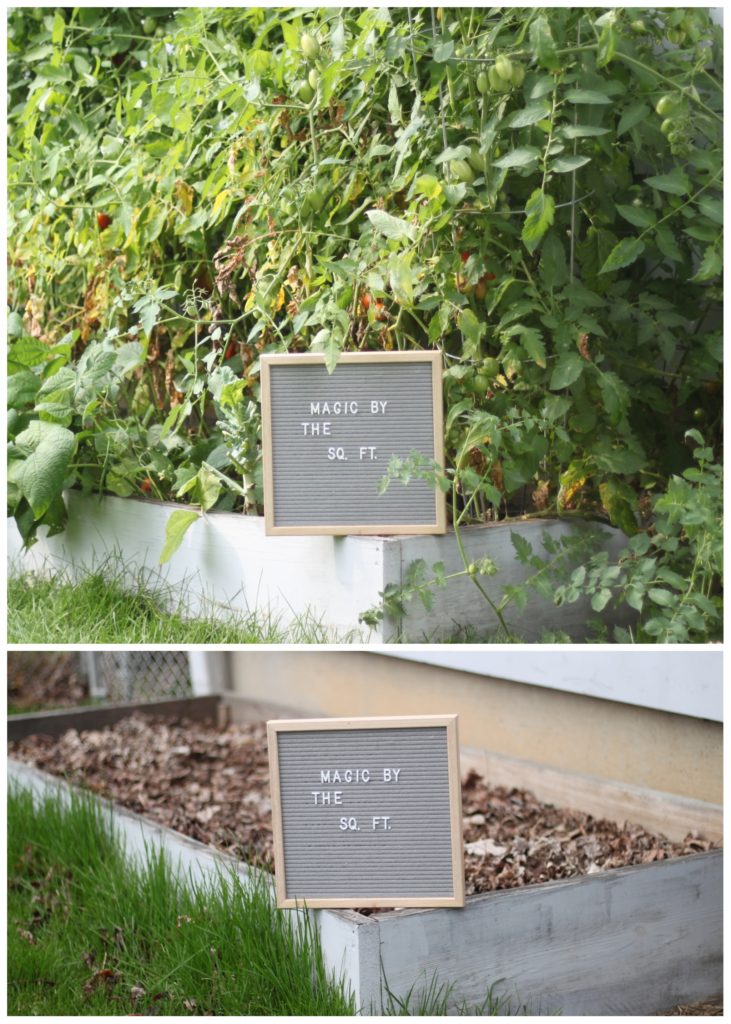
Raised beds don’t usually require a lot of weeding. The short walls keep some of the smaller animals out of your prized plants. Those walls also mean your gardens are less likely to be trampled by a zealous kid chasing a ball, butterfly or imaginary villain. Every fall I pull out all of the dead plants, turn the soil and spread a thick layer of leaves over the top. A leaf layer prevents weeds from popping up, keeps the dirt moist and adds nutrients to the soil. This gives me a great head start for spring.
Grass will grow up around the outer edges of the raised garden bed — too close for the mower to catch. Just remember to trim it back with gardening shears every 2-4 weeks. I placed my bed about 3” from the house. I wanted enough space for the plants to grow without being pressed against the house. But I didn’t want enough space for weeds or grass to grow behind it.
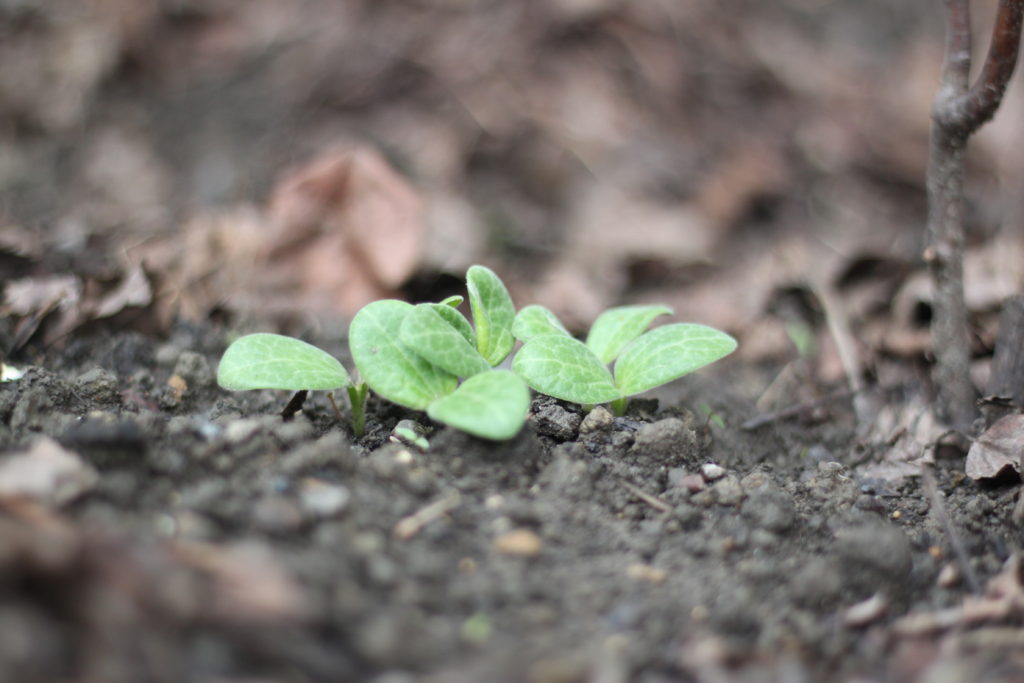
Thinking about building a raised garden bed for your own back yard? Do it! My kids love the fresh veggies almost as much as I do. They are learning an important skill that doesn’t come without a lot of trial and error and effort. Begin with something simple; tomato starts or green bean seeds. You will discover your green thumb in no time!